Sep 11, 2013

IBM BPM 7.5 - Creating Profile

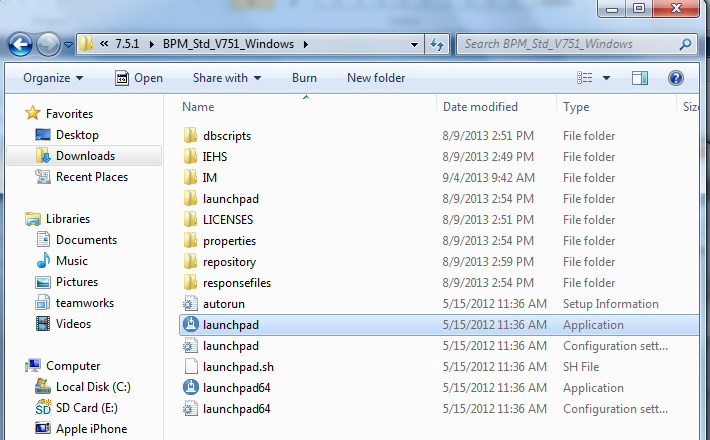
Normally Profile management tool will be available in following path.
     Programs -> IBM - > BPM Standard -> Profile Management Tools.
  • Click on Profile Management Tools, a window will be displayed. 
  • Click on Launch Profile Management Tool.
  • Click on Create to create new profile.
  • Expand the IBM BPM Process Center section and select stand alone profile and click Next.
  • Select typical profile creation and click next.

  • Provide Admin ID and password. This is used to login the Websphere admin console.( eg., bpmadmin - > password )
  • Select Database Type and Enter the Database server names and click Next. (Normally both only one database server is used for process server and performance server with two different schema)
  • Enter Process server and Performance server schema details and click Next
  • Verify all the details and click Create.
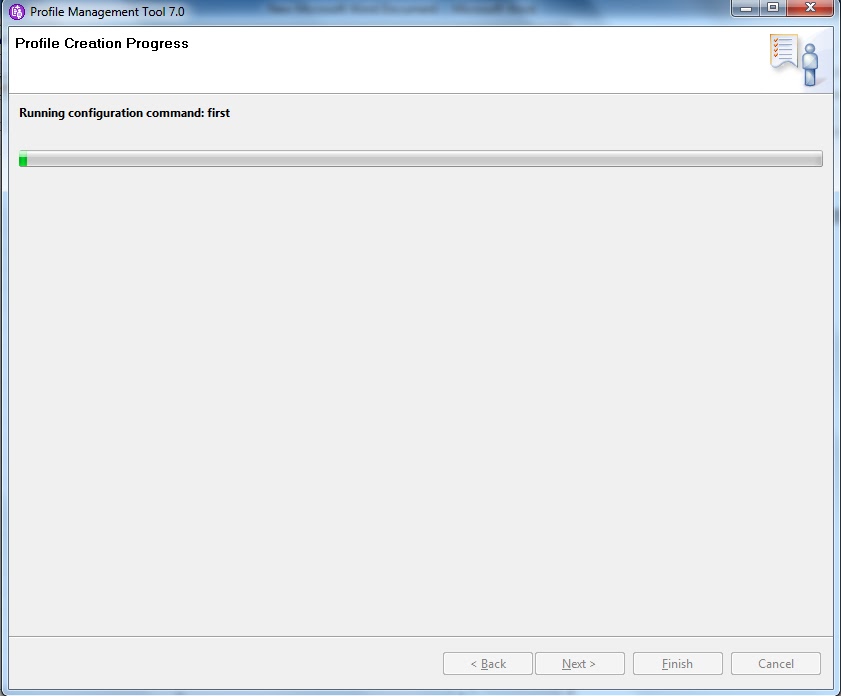
  • Profile Creation will start, it will take 15-20 min. You can take short power nap or go for coffee.
  • Once done, you will be displayed success message. Select Launch the first step console and click Finish.
  • First Step Console will get launched. You can Start the server.
  • Go to process center console (use admin id and password for login) and download and install process designer.

IBM BPM 7.5 - Custom Install

IBM BPM Custom Install has lot many steps compared to Typical Install, but it has many advantages compared to typical. Following are few advantages:
  • Administrator id can be any id. Instead of using admin as administrator id, you can use twAdmin or bpmadmin as administrator id. This will be very useful when you need to configure Active Directory with admin id disabled.
  • Can avoid running Database script and hence can configure old database process server and performance server schema.
  • Customizing the WebSphere install path.
Installation Steps:


  • Extract all the compressed (zip) files into one folder.
 
  • Once all the files are extracted, go to extracted folder (BPM_Std_V751_Windows) and click  LaunchPad.exe.

  • IBM BPM Install window will open and displays a welcome message with installation types.
  • Click on Custom Installation

  • Custom Installation screen will be displayed. Select check box Install as administrative user and click Install.
 
  • Install Packages screen will be displayed. 
  • Select required packages and click Next. (Here IBM DB2 Express 64 bit is an optional package and not needed if you are using oracle or sql database)
  • License Agreement will be displayed. Read and accept the License Agreement and click Next.
  • Specify Installation Directory and click Next. eg., C:\Program Files (x64)\IBM\WebSphere\AppServer
  • Validate the packages getting installed and click Next
  • Select bit architecture based on your processor bit size and click Next.
  • Finally click on Install. The installation will take 15-20 min. Take a power nap ;-)
  • When installation is complete following screen will be displayed with success message. Next step would be Profile creation.


Sep 10, 2013

Installing IBM BPM 7.5 - Typical Install

These are the steps need to follow to install IBM BPM 7.5 (Typical Install). In Typical Install most of the things will be done automatically. It will install with administrator id/password as admin/admin.
If you want to have different id as administrator id, please use Custom Install.

  • Extract all the compressed (zip) files into one folder.
  •  Once all files are extracted, go to extracted folder (BPM_Std_V751_Windows) and click  LaunchPad.exe


  • IBM BPM Install window will open and displays a welcome message with installation types.

  • Click on Typical Installation.
  • Typical Installation Screen will be displayed, where you will be asked to choose server. 
  • Select Install Process Center and click Next button.


  • Verify the host name and Installation Directory. And click Next button.
  • Select the Database Configuration. By default, Embedded DB2 Express Database is selected. If you are planning to use other database, have it configured. (Oracle DB configuration can be found here)
  • Setup Existing Database server. You will be displayed this screen only when you choose "Use an existing database" option.
  • Select the Database Type, enter Host Name, Port and System Identifier.
  • Specify the schema/user details for process server and performance server. Click on Test Database Connection to make sure the details are correct.
  • Click Next button.
  • Installation summary will be displayed, read and accept the license agreement.
  • Click on Instal Software.
  •  Installation will begin. It will take some time (20-30 min) to install.

  • Once installation is finished. you will be displayed success message.

Sep 9, 2013

Configure Oracle DB for IBM BPM Install


This post will give you information about steps needed to perform in Oracle Database before installing IBM BPM software.

  • Install Oracle Database. Express edition is good for beginners.
  • Download Oracle Sql Developer and Configure it to installed database, it will make your life easy. No need to write script for everything.
  • Login to database with system account. And create a Tablespace. Here is script to create tablespace.

CREATE TABLESPACE BPMDUMP
datafile 'c:\oraclexe\bpm.dbf' size 500M autoextend off
logging
extent management local;
  
  • Go to Others -> Create Users and Create Process DB user, Performance DB user and Common DB user.
  • Enter User Name, Password. (You can follow these names for DB users. BPMDB, COMDB, PDWDB and keep same password)
  • Select the default tablespace as BPMDUMP and temporary tablespace as TEMP.


  • Go to Roles Tab and click on Grant All, Admin All and Default All.
 

  • Go to System Privileges Tab and click on Grant All and Admin All. 

  • Click on Apply. Script will run and create users with necessary access.
  • Repeat these steps for all the users.

Search